This post is a guide for installing and setting up a lamp stack on Windows. Thus making it a wamp stack. Windows, Apache, MySQL & PHP.
Having a local webserver is great & fast for development and will be used as a starting point for further posts.
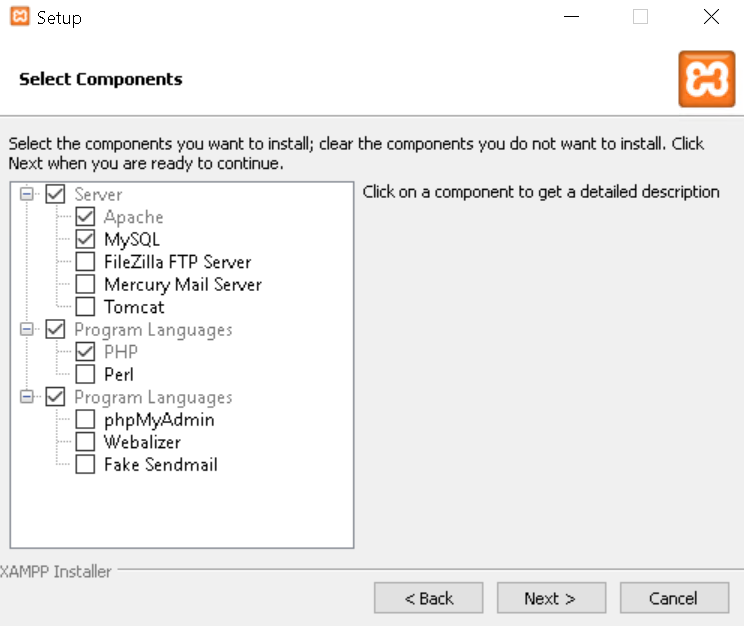
XAMPP is a webserver stack that includes a web server (Apache HTTP), database (MySQL/Maria) and interpreters like PHP and PERL. There are also added on bonuses like an FTP server and phpMyAdmin.
It is easy to use with Windows because of its simple click to start/stop GUI.
Go to the XAMPP downloads page here or XAMPP 8.0.0 (PHP 8) download link.
For this post, I am installing XAMPP 8.0.0 which comes with the new PHP 8 version.
The download is straight forward, upon starting the installation you may get a warning which can be ignored:
This is the XAMPP control panel GUI, here Apache (webserver) and MySQL can be started or stopped. These can also be done via batch files found at C:\xampp.
XAMPP will automatically open up ports.
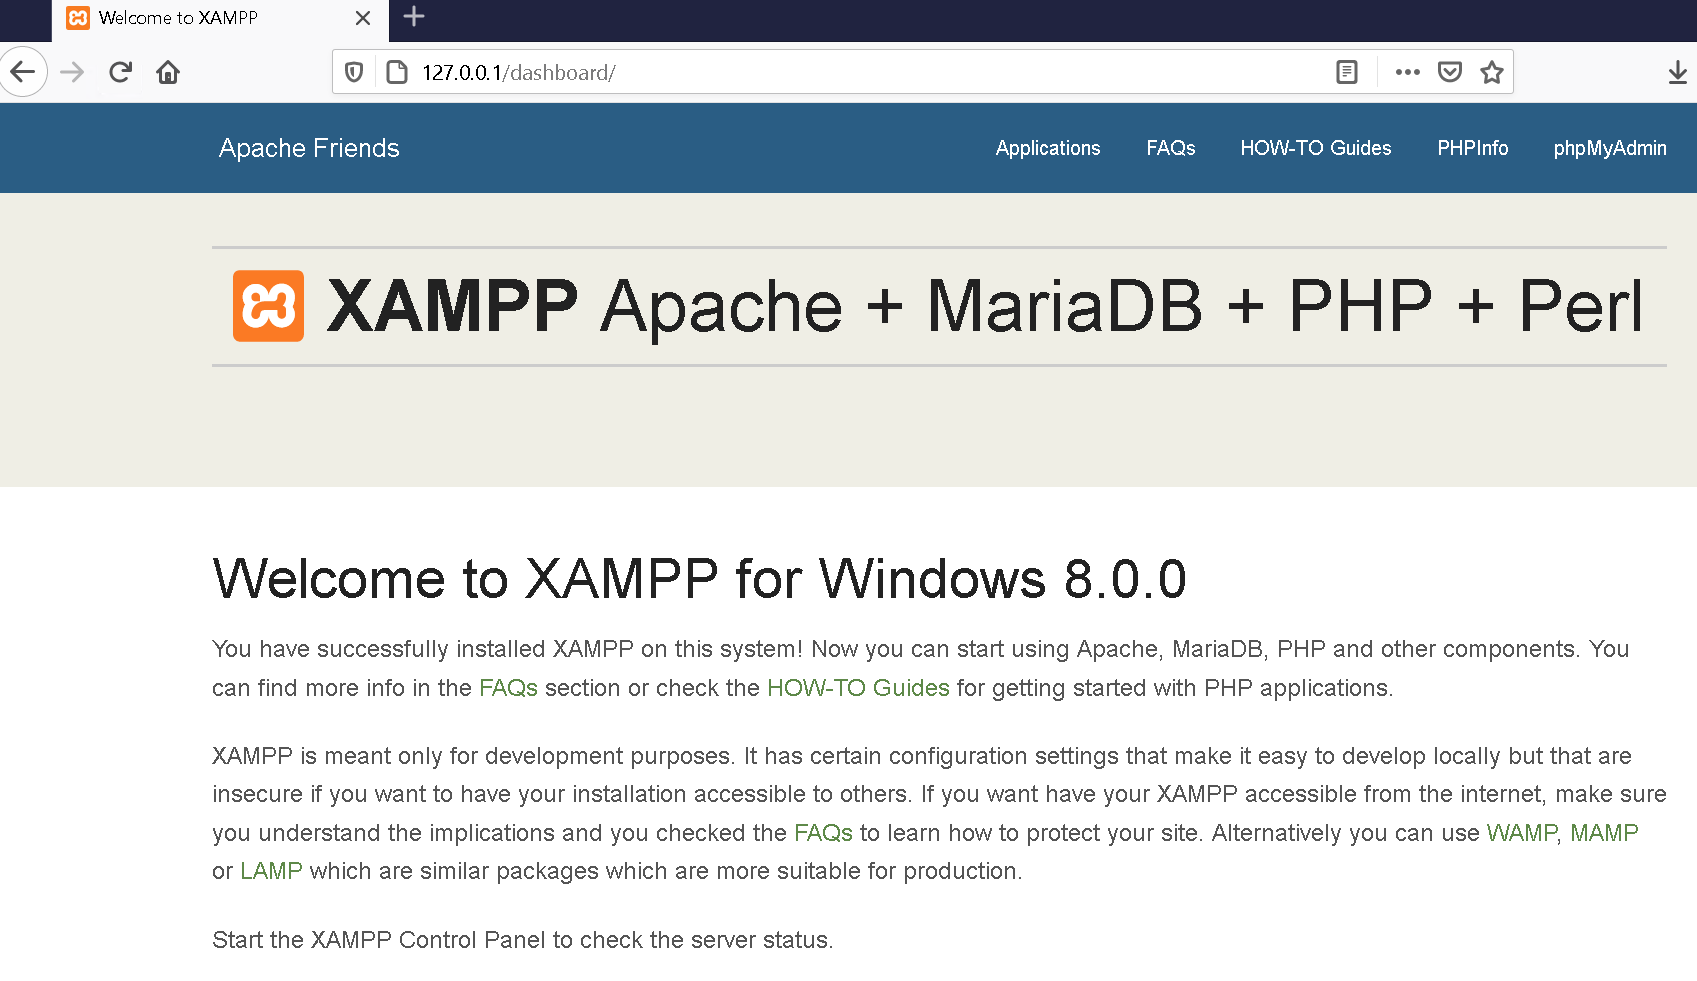
Once you have started Apache and MySQL, open your web browser and navigate to HTTP://127.0.0.1
C:\xampp\htdocs is the webserver home directory. It is best to save this directory in quick access.
HeidiSQL is a GUI program for MySQL and its forks. You can create and view tables easily, along with data. I personally find HeidiSQL easier to use than the web browser-based phpMyAdmin.
Download the latest version of HeidiSQL here.
You have some minor options during the install process:
Once it has finished installing, run HeidiSQL add in the localhost MySQL account by clicking New in the bottom left.
You will be greeted by the HeidiSQL client for your localhost database.
A drained and empty Kennington reservoir images from a drone in early July 2024. The…
Merrimu Reservoir from drone. Click images to view larger.
Using FTP and PHP to get an array of file details such as size and…
Creating and using Laravel form requests to create cleaner code, separation and reusability for your…
Improving the default Laravel login and register views in such a simple manner but making…
Laravel validation for checking if a field value exists in the database. The validation rule…